Coloring Clipart
How can I add color to my clipart?
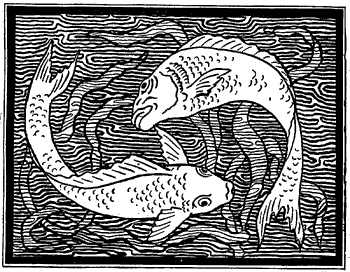
Once you have found a piece of clipart, such as these fish, you may wish to color the image in a graphics program. There are endless possibilities for coloring a piece of clipart, but first you must save the file to your computer and open it in a graphics program such as Photoshop Elements. Most of the clipart on this site has been saved in the GIF format with a color table limited to black, white, and just a few grays. This is done to make the file size small.
Before you can add color to the clipart, you will need to change the image from "indexed color" with only a few grays to "RBG color" with all of the colors. To change the color mode in Photoshop Elements, go to the "Image" menu and scroll down to "Mode." Then select "RGB Color" from the mode dropdown menu.

Can I use the paint bucket to color my clipart?

How do I color complicated clipart?
You can color complicated clipart using the brush tool. The trick is to set the "blending mode" correctly. If you try to paint in areas of your clipart using the "normal" blending mode, it will be very difficult to stay in the lines. By selecting the appropriate blending mode, you can make your job much easier. You can change the blending mode from the dropdown menu as shown at left. In this example, we are selecting the "lighten" mode. In Photoshop Elements you have the following choices for blending mode:
- Normal
- Dissolve
- Darken
- Multiply
- Color Burn
- Linear Burn
- Lighten
- Screen
- Color Dodge
- Linear Dodge
- Overlay
- Soft Light
- Hard Light
- Vivid Light
- Linear Light
- Pin Light
- Difference
- Exclusion
- Hue
- Saturation
- Color
- Luminosity

The following examples show some of the possibilities of using blending modes


What special effects can I do with the clipart?


This example uses the Neon Glow filter. You can try the filter with different foreground, background, and glow colors. Each combination of colors will produce a unique result.
Most graphics programs have many different filters to experiment with. The best way to learn what each filter does is to select a piece of clipart and try running each filter on it. You can also try combinations of effects. For example, you might colorize an image with a gradient, then run a Lighting Effects filter on it.

How should I save my new clipart?
If you are going to print from your clipart, you should save it as a TIFF file.
If you are going to put your newly colorized clipart on the Web, you have two choices: GIF or JPEG. You should save your image as a GIF file if it has very few colors. For example the clipart that we inverted above still has only a few colors in it, so it should be saved as a GIF file. If your newly colorized clipart has many colors, you should save it as a JPEG file. The gradient colored fish above should be saved as a JPEG since there are many colors it it. If we tried to save the gradient clipart as a GIF, it would have harsh bands of colors in it instead of the smooth gradient we wanted.