Your school may have a typical Ethernet network that uses “Category 5” cables to connect the computers to the network, or it may have a newer wireless network.
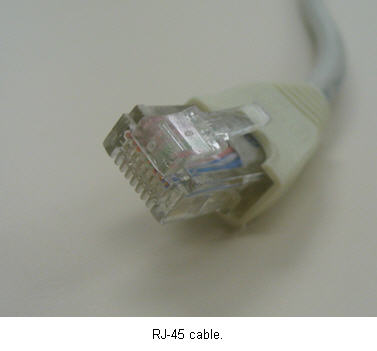
Most classrooms in your school will have one or more data jacks on the wall where you can connect a computer to the network using a Category 5 patch cable. Cat 5 cables have RJ-45 connectors at both ends. These cables look like the cables you use to connect your phone to the outlet on the wall, but with wider connectors.
Before you can connect your computer to the network using a Cat 5 cable, you will need to make sure you have an Ethernet network adapter installed on your computer. On desktop computers, this is often installed as an expansion card that fits into one of the expansion slots in your case. On laptops, this can be installed as a PC Card that is inserted into a slot on one of the sides of your laptop’s case. Most newer laptops and desktops have the network card integrated into the motherboard. If it is integrated, the network connection will often be found near the USB connectors on the back of your desktop’s case, or next to the phone line connector on the back or side of your laptop’s case.
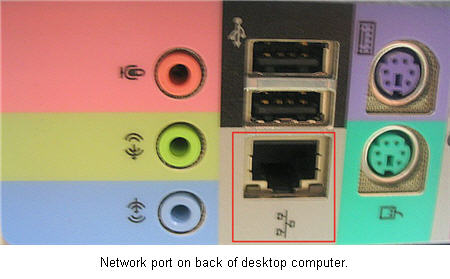
To connect to the network, plug one end of the Cat 5 cable into your computer’s network card, then plug the other end into the network port on the wall. The network card should have a blinking light on it to let you know that it is active and receiving a network signal. You can then open up a web browser and pull up a web page to test your network connection.
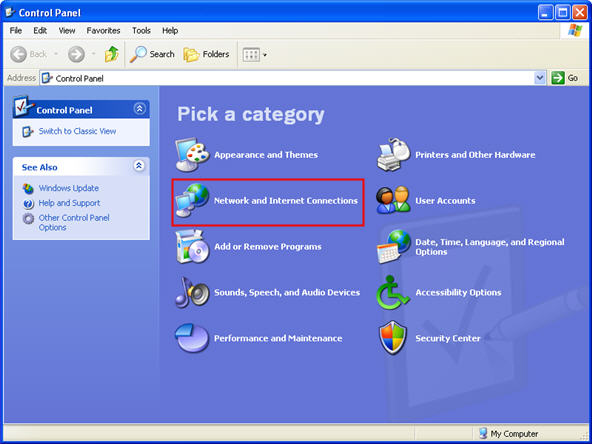
With wireless networks, Windows XP is set up to require minimum configuration. All you need to do is to be within range of a wireless signal to be able to access the internet using your computer’s wireless network adapter. When you are within range of a wireless network, you may see an alert in the system tray letting you know what network you are connected to. If your computer does not automatically connect, choose Start, Control Panel, then Network and Internet Connections.
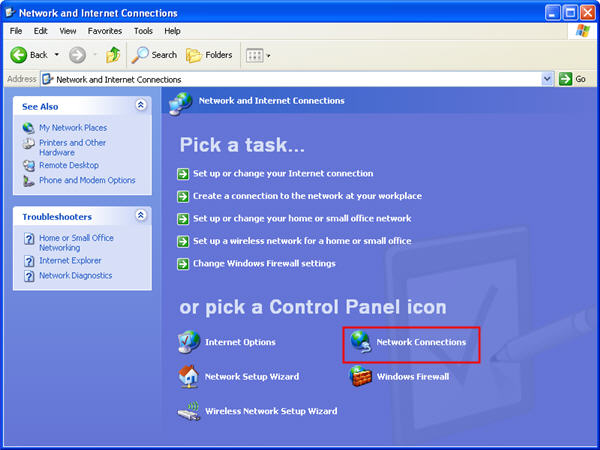
Next, click on Network Connections to open the Network Connection window.
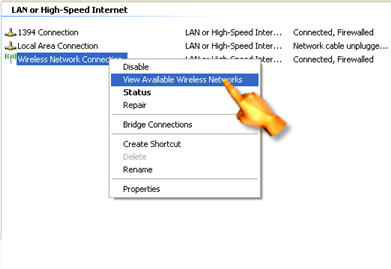
Right-click on Wireless Network connection and select View Available Wireless Networks.
Now you should see a window where you can select a wireless network. Select a network and click on Connect.
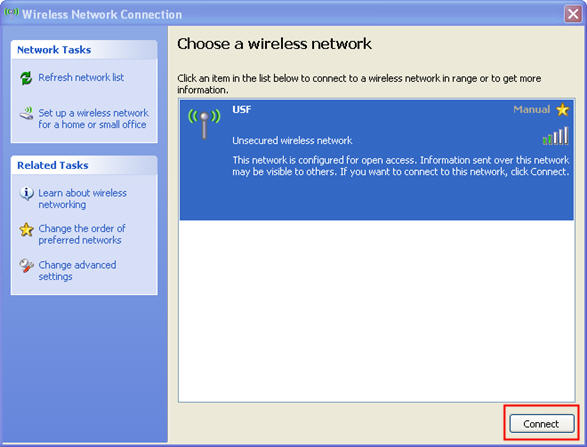
If the network is set up to be a secured network, you may need to enter a password before you are allowed to connect.
Once you have established a connection to the network, you may be required to log in to access resources such as shared network drives and printers. This process will depend on what type of network you are on (Windows, Novell, Linux, or a mixed environment) and how it is configured. Your tech specialist or network administrator can provide you with the information you need to properly log in to your specific network type.