After you taken pictures of your students with your digital camera, you’ll want to copy the pictures from your camera to your computer so you can print them, share them with your students, and back them up for safe keeping. Once your pictures are on your computer, you can erase them from your camera, freeing up memory so you can take more pictures.
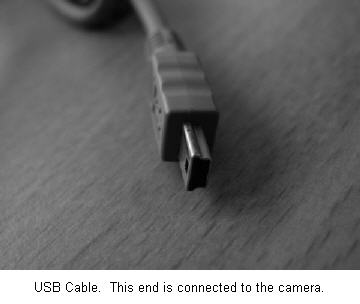
Most cameras come bundled with a USB cable you can use to connect the camera to your computer to download your pictures. The flat end of this cable will plug into a USB port on your computer, while the smaller end of it will plug into your camera.

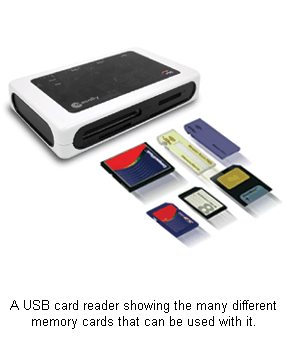
A problem with directly connecting your camera to the computer using a USB cable is that it may drain your camera’s batteries if you do not have it connected using a power adapter. To get around this problem you can use a USB card reader, a small device with ports where you can insert the memory card that is used to store the pictures on your digital camera. You can either buy a card reader for the specific memory card type used by your camera, or you can buy a reader that has multiple ports on it if you’re not sure what kind of memory your camera uses.
Once you have the cable plugged in to both the computer and the camera, make sure your camera is turned on and set to the right mode so it can be recognized by your Mac. This varies by camera model, so you may have to check your manual. On many cameras this is called Play mode.
To import and manage your pictures, you can use the iPhoto program that is part of the iLife suite installed on all new Macs. iPhoto will recognize most digital cameras and open up automatically to allow you to import pictures when you connect them to your Mac. The procedure for importing pictures using iPhoto is as follows:
- iPhoto will automatically open in Import mode. You will see a camera icon in the main window and below that iPhoto will tell you how many pictures you can import from the camera.
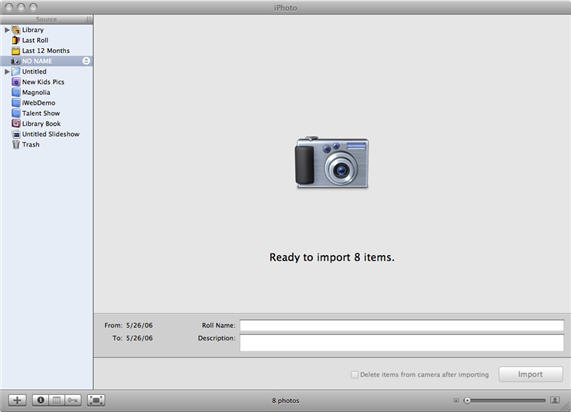
- Provide a name and description for your roll (all the pictures to be imported in one session) in the fields provided.

- You can click a checkbox at the bottom of the window if you wish to delete pictures from your memory card once they are downloaded from the camera.

- Click on the Import button to begin importing. You can stop the process at any time by clicking on the Stop Import button.

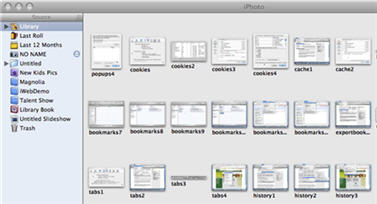
Once you have imported your pictures into iPhoto, they will be displayed as thumbnails when you click on Library in the source list that is displayed on the left.
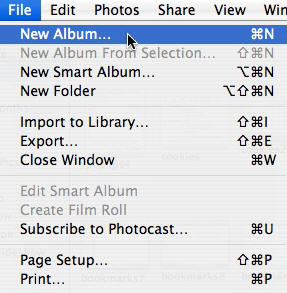
You can organize them by creating albums. To create a new album, select File, New Album.
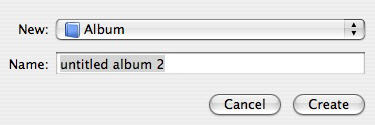
Enter a name for your new album in the dialog box, then click on Create.
You can then drag and drop pictures from the Library and place them in your new album.
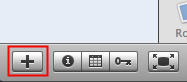
Another way to create a new album is by clicking on the button with the plus sign that appears just below the library on the left side of the iPhoto window.