In addition to using a printer that is connected directly to your computer, you can also use a printer that is shared on the network. This printer may be directly connected to the network the way your computer is, or it may be connected to a computer and set up as a shared printer. Note that you may need to have permission to print to a network printer, which may require you to contact your tech specialist or network administrator. Once you have permission to print to a network printer, you can add the printer by following these steps:
- Click the Start button on the Windows taskbar and then click Control Panel on the right side of the Start menu.
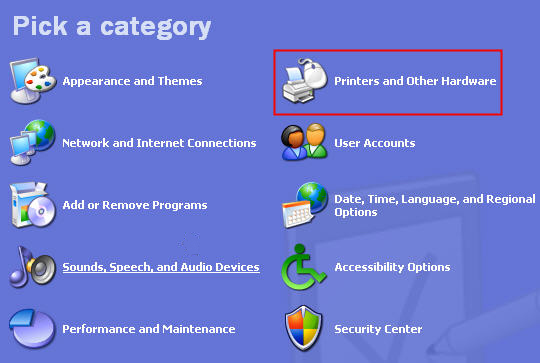
- Click on the Printers and Other Hardware hyperlink if the Control Panel window is in Category View. Otherwise, double-click the Printers and Faxes icon if the Control Panel window is in Classic View.
- If you are in Category View click on the Add a Printer hyperlink in the Printers and Other Hardware window to start the Add Printer Wizard and then click the Next button or press Enter to advance to the Local or Network Printer Connection dialog box.
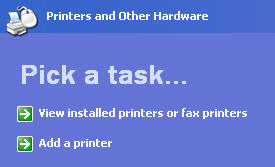
If you are in Classic View, start the wizard by clicking on the Add a Printer option on the left, under Printer Tasks.
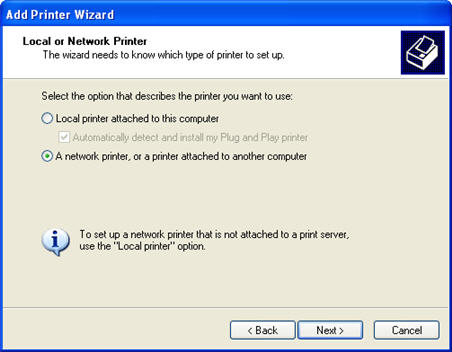
- Choose A Network Printer or a Printer Attached to Another Computer using the radio buttons in the Local or Network Printer dialog box and then click the Next button or press Enter to continue to the Specify a Printer dialog box.
- If you know the path of the network or shared printer, click the Connect to This Printer radio button and then enter the network path in the Name text box. Network paths are in the format \\Server\Printer where Server is the name of the computer where the printer is connected.
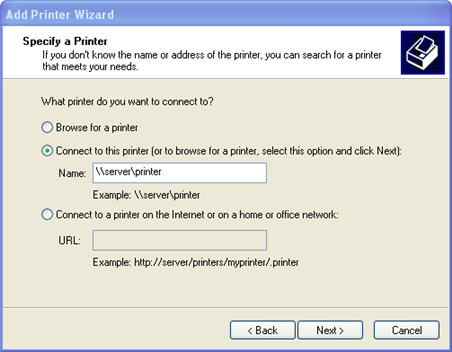
If your network printer is on a network that uses an Internet address and you know this URL address, click the Connect to a Printer on the Internet or on a Home or Office Network radio button and then enter the address in the URL text box. If you don’t know the path or URL address to a network printer you may have to contact your tech specialist or network administrator to obtain that information. You can also just leave the Browse for a printer button selected in the Specify a Printer dialog box and see if you can find the printer by browsing the network.
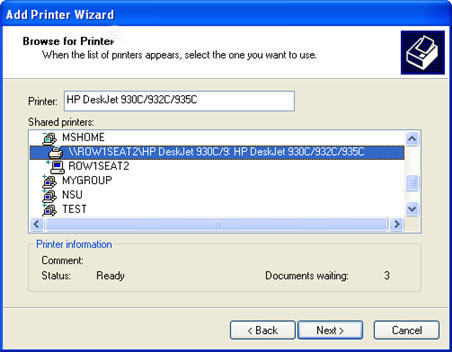
- If you select to Browse for a printer, locate the printer in the Shared Printers list box by clicking the network icons until you expand the outline sufficiently to display the printer you want to connect to. When you click the printer icon in this outline, the wizard adds the full path to the Printer text box.
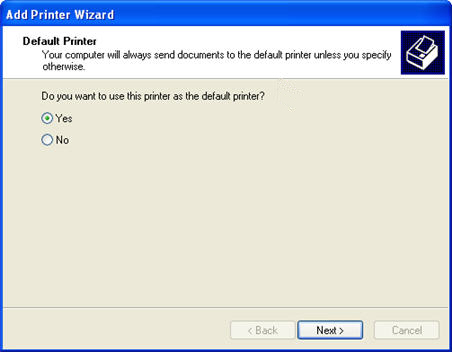
- Click the Next button to advance the Default Printer dialog box. If you want to make the printer you are installing the default printer that is automatically used whenever you print from Windows or from within a Windows program, leave the Yes radio button selected.
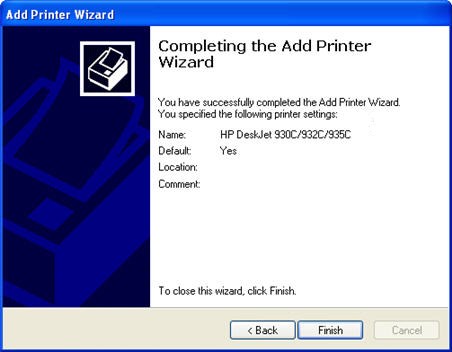
- Click the Next button to advance to the Completing the Add Printer Wizard dialog box, where you can review the settings for your new printer before you click the Finish button to finish installing the new printer.