The first step to adding a printer is to make sure the USB cable is properly connected to both the computer and the printer, and that the printer is plugged into a power outlet and turned on.
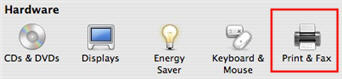
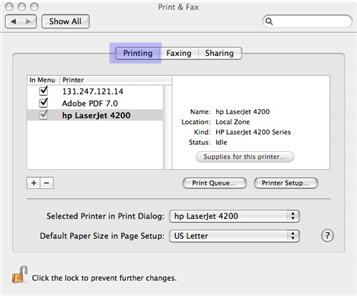
Once you have physically connected the printer and turned it on, it should be recognized by your Mac. OS X includes printer drivers for most USB printers you can buy today. To see if your printer is recognized by the operating system, select Preferences from the Apple menu, then Print & Fax, and click on the Printing tab.
Your printer should be listed on the left hand side of the window.
If your printer is not listed, you may need to visit the website for the printer’s manufacturer to download drivers. This may be the case if your printer is a recently released model. The procedure for installing the printer driver software will vary depending on the manufacturer, but it is generally straightforward. You download the software from the website, then run an installer program which will guide you through the installation process. You may also need to install driver software if your printer has special features that are not enabled by the generic driver installed by the operating system.
In addition to installing USB printers, you can also install printers that have been shared on the network. You can even print to remote printers using the TCP/IP protocol. All you need to know is the printer’s IP address.
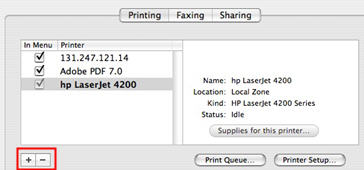
To install a shared or IP printer, go to System Preferences, then select Printing under Print & Fax. Next, click on the plus sign below the printer list.
There will be two buttons at the top of the Printer Browser window that opens up next: Default Browser, and IP Printers. Select Default Browser and then choose a printer from the list.

Your computer will then attempt to make a connection to the printer. Once a connection has been successfully made, the Add button will become active and you can click on it to add your printer.
If you are installing an IP printer, select IP Printers at the top of the Printer Browser window.
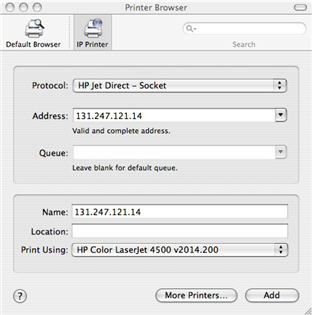
You will need to know the protocol used to connect to the printer. Usually, this is Internet Printing Protocol (IPP), but for some HP printers you may need to choose HP Jet Direct. Under Address, enter the IP address for the printer (this is made up of four numbers separated by dots). Once your computer makes a successful connection to the printer, the Add button at the bottom of the window will become active and you can click on it to add the printer.