NOTE: As of March 16, 2016, Google ceased to support Picasa and encouraged users to migrate to Google Photos. The Picasa application will continue to function, however, and can still be used by those who prefer it. We are maintaining the Picasa posts within TechEase because we find that many people are still using the application and come to the TechEase site looking for the specific help we offer.
Picasa allows you to create a web page with your photos in two different ways:
- as a web gallery, which has to be uploaded to a web server before it can be accessed by other people, or
- as a web album which is hosted on the Picasa servers and is immediately available online when it is published.
Picasa Web Albums accounts provide 250 MB of storage for free (more can be purchased starting at $25 per year). Picasa web albums can even be used without Picasa (you can use your web browser to upload photos to a Picasa Web Album).
Picasa Web Albums make it easy to share photos with your friends and family. If they have Picasa, they can download the album to their computer and add it to their Picasa library.
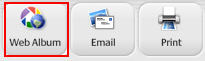
To create a new Web Album, click on the Web Album button in the Picture Tray.
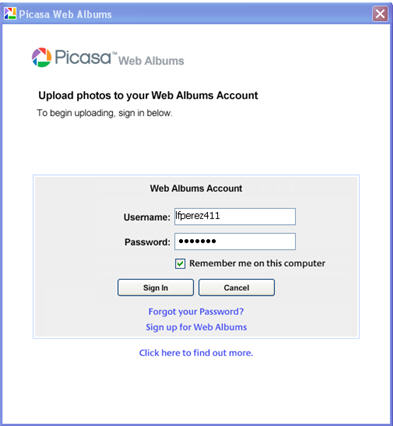
A window will open where you can either sign in to your Web Album account. You can use your existing Google account (the one you use to log into GMail) to sign in.
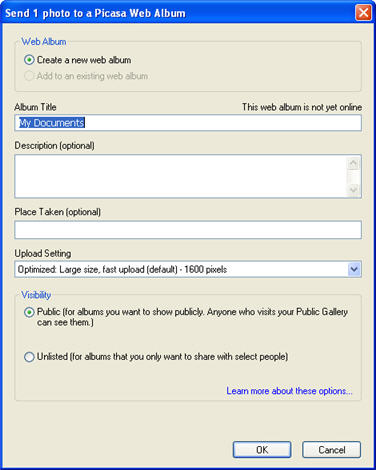
Next, click on the radio button next to Create new album, then enter a title, a description, and the place where the photo was taken. The upload settings pulldown menu allows you to select different sizes for the photos in the album. You can also select make your album public, which means anyone can see it, or you can hide it for the directory so you can share it only with selected people.
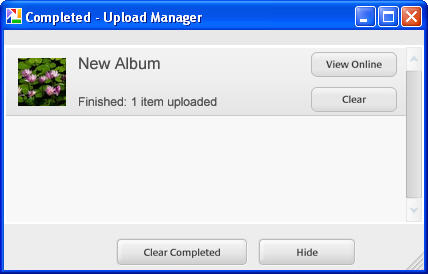
As the album uploads you will see a progress indicator. When the upload is complete, click on the View Online button to go to the Picasa Web Albums website.
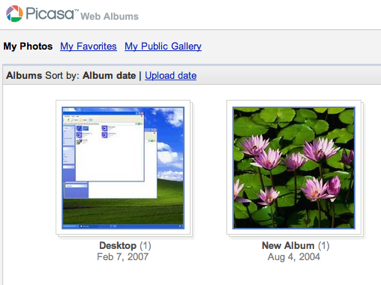
To access your uploaded albums, go to https://picasaweb.google.com and log in with your Google user name and password. Next, click on My Photos to see thumbnails for each album you have uploaded. To view the photos in each album, click on the thumbnail for that album.
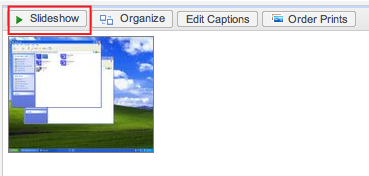
Once you open the album, you have several options:
- To view your photos as a slideshow click on the Slideshow button above the thumbnails .
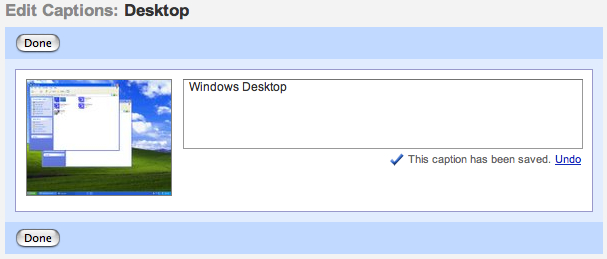
- To add a caption, click on the Edit Captions button , add your caption, then click on Done.
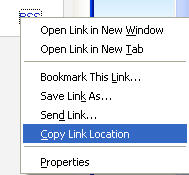
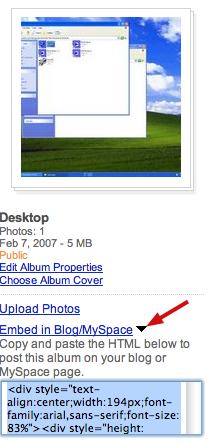
- To add your album to a blog, click on the Embed in Blog/My Space button below the album thumbnail. The fragment of code you need to copy to add the album to your blog will be displayed.
- To share the album with other people, click on Share Album. This will send an email invitation to the people you want to be able to view the album.

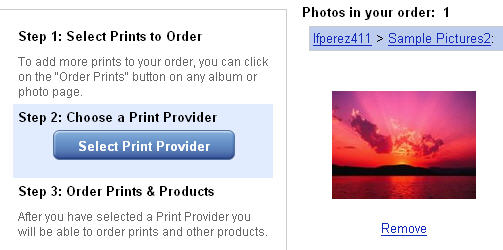
- To order prints, click on the Order Prints button, then on the Select Print Provider button.