Using Cascading Style Sheets (CSS), Dreamweaver will let you adjust the font type, text size, and line-height in your web documents. This tutorial will show you how to adjust the text settings in Dreamweaver to make the body text in your web pages easier to read.
- Dreamweaver Text Settings: Video Tutorial (CC)
- Video Tutorial: Larger Version (.mov, CC)
- Directions (HTML)
- Print Directions (Tagged PDF)
To change the text settings in Dreamweaver:
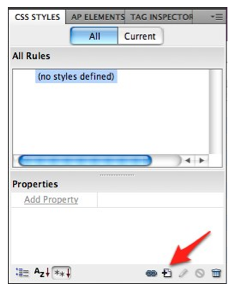
1. With a new Dreamweaver document open, select the New Rule button in the CSS Styles panel.
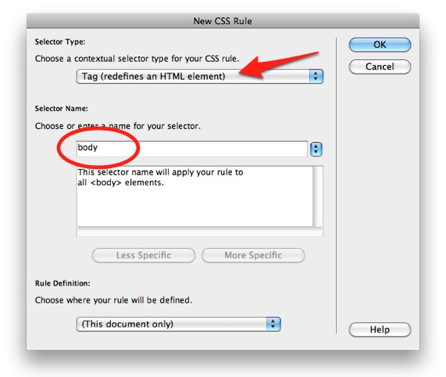
2. In the New CSS Rule window, choose Tag for the selector type and enter “body” for the selector name, then select OK.
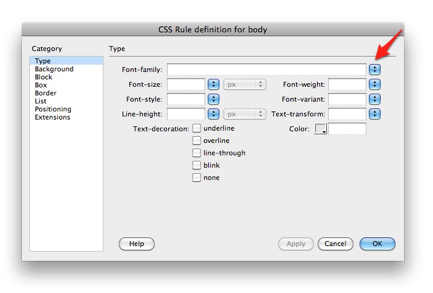
3. In the CSS Rule definition window, choose a font family by selecting it from the menu to the right of the Font-family text field. A sans-serif font such as Arial is best for body text.
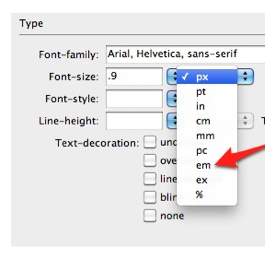
4. Enter a font-size and select your unit of measurement. Some older web browsers (such as older versions of Internet Explorer for Windows) will not let you resize the text if pixels are selected as the unit of measurement. For this reason, you should choose a relative unit of measurement such as em or percent.
5. For the line height, enter a value and choose multiple from the unit of measurement menu.
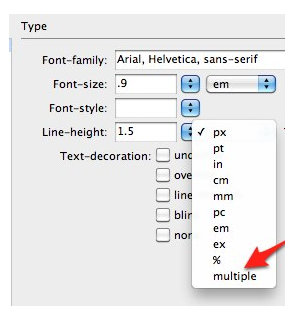
6. Choose Apply to see your changes take effect in the current document.
7. When you are finished making your changes, select OK to exit the CSS Rule definition window.
8. Choose File, Save to save your changes.