NOTE: As of March 16, 2016, Google ceased to support Picasa and encouraged users to migrate to Google Photos. The Picasa application will continue to function, however, and can still be used by those who prefer it. We are maintaining the Picasa posts within TechEase because we find that many people are still using the application and come to the TechEase site looking for the specific help we offer.
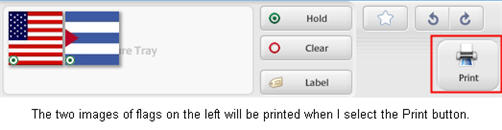
To print pictures using Picasa, first make sure the pictures you want to print are in the Picture Tray by selecting them in the Lightbox. Next, click on the Print button to open up the Print window.
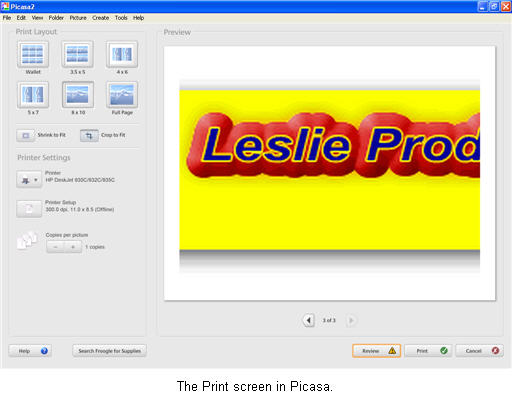
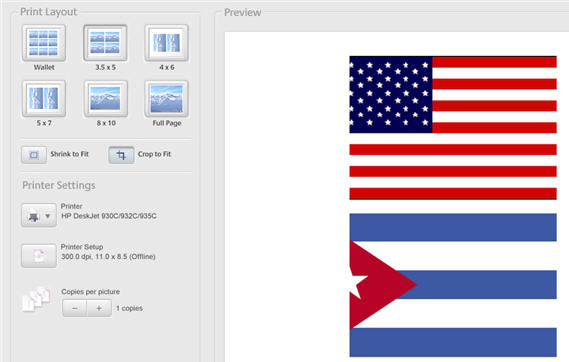
At the top of this window, you can select a layout and Picasa will automatically resize the pictures you have selected so that they fit well in the layout you have selected. The Preview area on the right shows you what your printed pictures will look like.
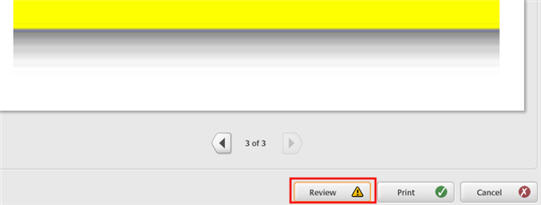
You may see an exclamation mark next to the Review button, which you can use to review the quality of your pictures. The exclamation mark means that some of the pictures you have selected will not print at a good quality.
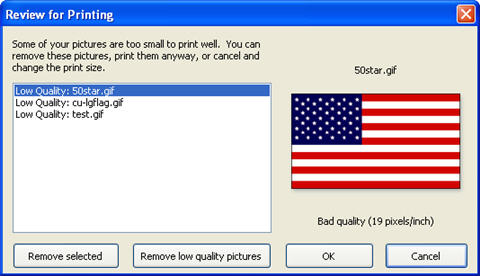
You can click on the Review button to open up a window where you can remove low quality pictures before you print your layout.
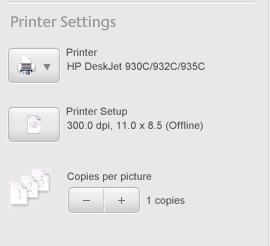
Once you have your layout set up, click on the Printer/Fax button to select a printer and click on the Print button to print your pictures. You can click on the Printer Setup button to set up your printer options, such as the paper size and the orientation (landscape or portrait). You can also use the plus and minus buttons to select the number of copies you want to print.