The key to creating a more accessible PDF document is to begin with a good source document in your word processing program. The five tips presented in this tutorial will allow you to create more accessible PDFs by adding accessibility features to your Microsoft Word documents before they are exported to the PDF format.
- PDF Accessibility Tips Video Tutorial
- Video Tutorial: Bigger Version (.mov, 5 MB)
- Directions (HTML)
- Print Directions (Tagged PDF)
The following tips will allow you to create more accessible source documents in Microsoft Word before you convert them to the PDF format:
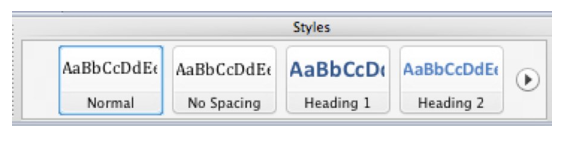
- Use headings to add structure: the use of headings can benefit people with cognitive disabilities by allowing you to split long documents into smaller segments. Headings can also be converted to bookmarks when you export your PDF document from Microsoft Word. These bookmarks can provide additional navigation to people who rely on a screen reader to access the PDF document. To add a heading in Microsoft Word 2010, select the desired heading text and choose a heading style in the Ribbon (you will find these styles in the Home tab of the Ribbon).
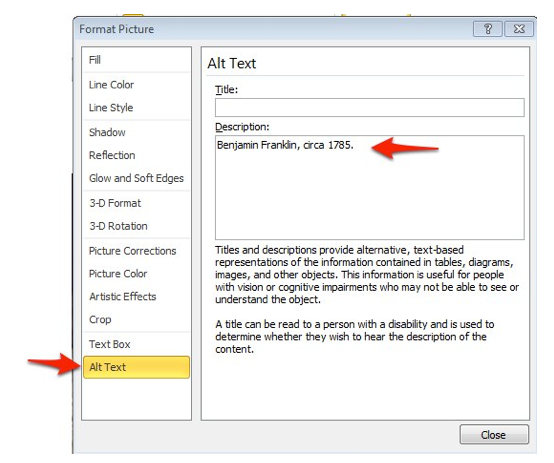
- Add alt text to images: alternate or alt text will allow you to provide a description of the image to people who are accessing the PDF document with a screen reader. The alt text should describe the content of the image, rather than its appearance. To add alt text for an image in Microsoft Word 2010, right-click on the image and choose Properties, then select Alt Text on the left side of the dialog window and enter your alt text in the Description field on the right side.
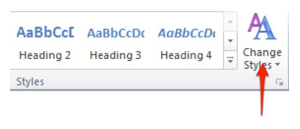
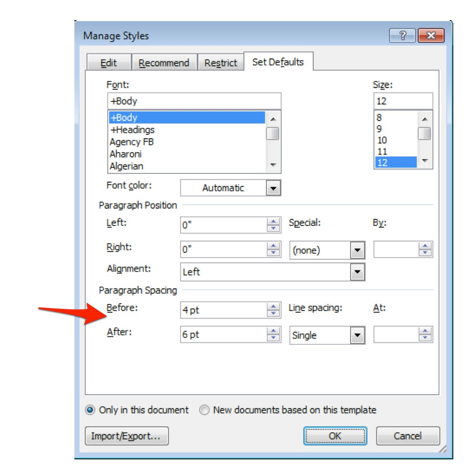
- Use white space around images: Adding white space around images will make it easier for the PDF Maker to convert your Word Document into a properly tagged PDF document. Instead of adding the white space by inserting several line breaks, a better solution is to add the white space with paragraph styles. To add white space with paragraph styles in Microsoft Word 2010: select Manage Styles in the Styles section of the Ribbon (Home tab), then enter the desired amount of white space under Paragraph Spacing.
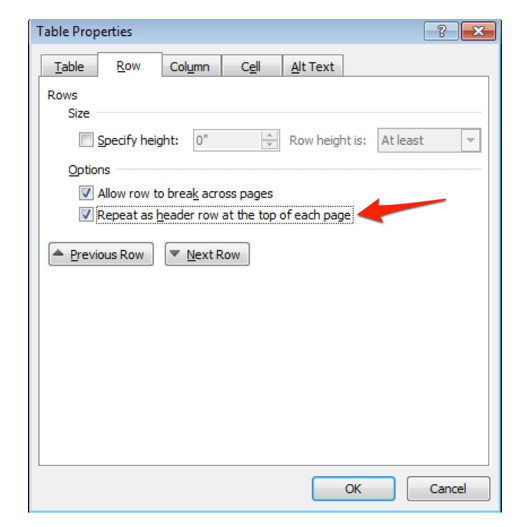
- Add headers to tables: adding a header row will help a screen reader indicate how information is laid out in the table. To add a header row in Microsoft Word 2010: right-click the table and choose Properties, then check the box next to Repeat as header row at the top of each page in the Row tab.
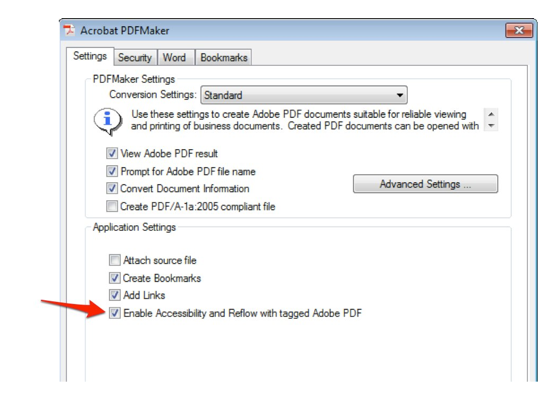
- Make sure accessibility is enabled in your PDF Maker settings: enabling the accessibility options for the PDF Maker before you export from Microsoft Word will add the proper tags needed for accessibility. To enable the accessibility options for the PDF Maker: choose Preferences in the Acrobat tab of the Ribbon and make sure the box next to Enable Accessibility and Reflow with tagged Adobe PDF is checked.