NOTE: As of March 16, 2016, Google ceased to support Picasa and encouraged users to migrate to Google Photos. The Picasa application will continue to function, however, and can still be used by those who prefer it. We are maintaining the Picasa posts within TechEase because we find that many people are still using the application and come to the TechEase site looking for the specific help we offer.
Picasa has several features that make it easy to organize the photos and movies in your library.
Albums
This collection allows you to group and organize your photos into categories. You can think of them as keywords that are used to tag your photos. For example, you can create an album called “Flowers” to group all of your photos of flowers, or you might create an album like “Trip to The Grand Canyon” to arrange all of your latest vacation photos.
Unlike the Folders collection, which matches exactly the folder locations on your computer, albums do not correspond to physical folders on your hard drive. If you delete or move photos inside an album, the original files stay safe in their original locations on your hard drive. You can even add the same photo to multiple albums without creating multiple copies of the same photo on your hard drive.
However, any edits you make to a photo in an album will also be applied to every instance of the photo, including the original.
Below are some of the things you can do with albums in Picasa:
- Create a new album. First select one or more photos (you cannot create an empty album). Select File, New Album to create a new album in Picasa containing the selected photo(s).
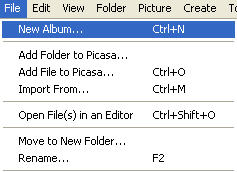
You can do the same thing by choosing a photo, clicking the Add to button and selecting New Album from the popup list.

- Add a photo to an existing album. The same photo can be added to several albums in Picasa. Select a photo, click the Add to button, and select an existing album from the list.
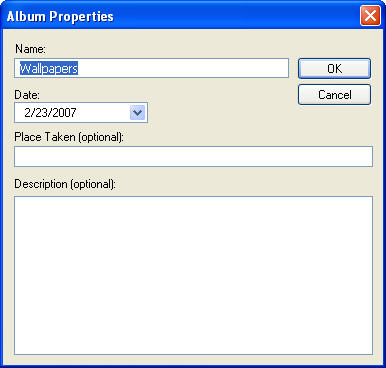
- Change an album’s description. Double-click on the title of any album to open the Album Properties dialog box. Enter a new description for the album. You can also modify the date, place taken, or caption. Any descriptive information you add will be searchable in Picasa. When you’re done, click the OK button.
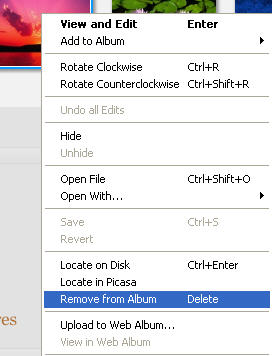
- Remove a photo from an album. Select a photo. Right-click with your mouse and select Remove from Album from the context menu (or press the Delete key on your keyboard). Remember that removing a photo from an album does not delete the original file from your computer’s hard drive.
- Rearrange photos in an album or between albums. Click and drag a photo to change its order within an album or drag it into another album to add it to that album. This doesn’t affect the order in which the original files are stored on your computer.
The Star Button
The star button is a quick way to tag your best photos so you can easily find them later. To assign a star rating to one or more photos, drag and drop them into the Picture Tray and click on the Star button.

A small star icon will appear in the lower right corner of the photo’s thumbnail in the Lightbox.

The photo will be automatically added to the Starred Photos album created by Picasa.