Before you can use a program, you must first install it on your computer. Most commercial programs come packaged in a CD or DVD and will automatically launch an installer program when you insert this media on your computer. If the installer does not automatically launch, open the CD or DVD by double-clicking on its icon on the desktop. Once you have the CD or DVD open, you can click on the installer program to launch a wizard that will guide you through the installation process. The steps involved in installing a new program will vary depending on the program you are installing.
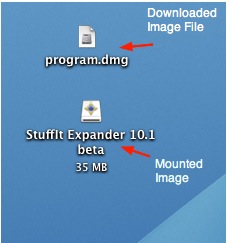
The process for installing programs you have downloaded may be a little bit different. Most Mac programs can be downloaded as disk image files (which end with the .dmg extension). When you double-click on the downloaded disk image file, it will be mounted as a drive which will be visible on your desktop as well as any Finder windows you open. Once the disk image file is mounted as a drive, you can view its contents using the Finder just as you would any other drive or folder.
Most Mac programs can be installed by dragging an icon from the disk image file into the Applications folder (this will copy the program into the Applications folder). In some cases, the disk image file may contain an installer program that you must launch to install the program.
Once your program is installed, you can eject the disk image file by clicking on the eject icon next to its name in a Finder window. From the desktop, you can eject a disk image file by dragging it to the Trash icon in the Dock (the Trash icon will change to an eject icon as you drag). You can delete the .dmg file once you are finished installing your program if you want to save disk space.