NOTE: As of January 10, 2017, Microsoft ceased to support Windows Movie Maker. The Windows Movie Maker application will continue to function, however, and can still be used by those who prefer it. We are maintaining the Movie Maker posts within TechEase because we find that many people are still using the application and come to the TechEase site looking for the specific help we offer.
CAUTION: While installation files that were downloaded directly from Microsoft are safe, there are now many reports of non-Microsoft scam websites offering malware versions of Movie Maker for download. While this malware may function at first, it eventually will demand payment for functions such as saving a file. Never download software from an untrusted source.
You may already have content on your computer that you want to use in your video project. This content can be video clips, still images, or audio.
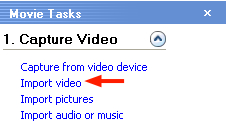
To import video into Windows Movie Maker:
- Select the Import video link in the Movie Tasks pane.
- Find the location on your hard drive where the video files are stored. Use the Shift and Control keys on your keyboard to select more than one video to import.
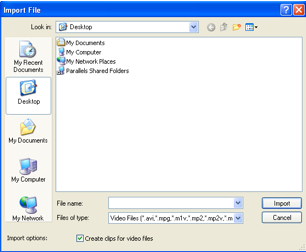
- Click on Import. The video(s) will be imported into the Collection area.
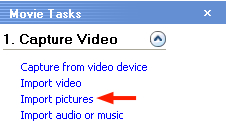
To import still images:
- Select the Import pictures link in the Movie Tasks pane.
- Find the location on your hard drive where the image files are stored. Use the Shift and Control keys to select more than one image.
- Click on Import. The image(s) will be imported into the Collection area.
To import audio:
- Select Import audio or music in the Movie Tasks pane.

- Find the location on your hard drive where the audio files are stored. Use the Shift and Control keys on your keyboard to select more than one audio file.
- Click on Import. The audio file(s) will be imported into the Collection area.