NVDA (Non Visual Desktop Access) is a free, open source screen reader for Windows. This tutorial covers how to install the program on your computer.
- NVDA Installation Video Tutorial
- Video Tutorial: Bigger Version (.mov, 5 MB)
- Directions (HTML)
- Print Directions (Tagged PDF)
- Open your web browser and go to the download pagefor NVDA: https://www.nvda-project.org/wiki/Download.
- Click on the download link for the latest stable version of the program.
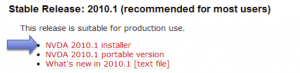
You can also download a portable version of NVDAthat can be installed on a USB drive and used on multiple computers (such as on a public computer in the library).
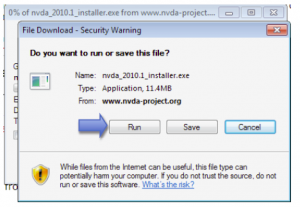
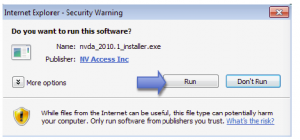
- Choose Run on each security warning to start downloading the installer file for NVDA.
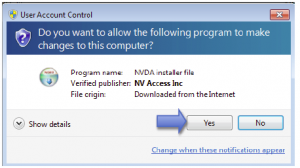
- Choose Yes on the User Account Control window.
- When the NVDA Setup Wizard opens, choose Next on the first screen, then I Agree on the license agreement screen.
- Continue selecting Next to install NVDA with the default options.
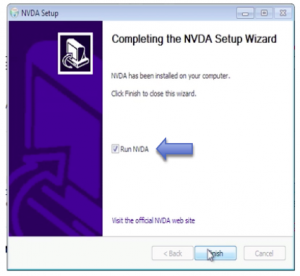
- When you get to the final screen of the setup wizard, check the box next to Run NVDA to start using the program right away, then Choose Finish to exit the wizard.
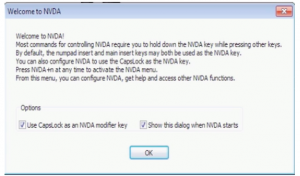
- NVDA will display a welcome screen. Choose OK to close this screen and start using NVDA.