It is possible to transfer(“burn”) files to a CD using your Mac’s built-in CD-R/CD-RW drive. This is a good way to back up your files. Before you can backup your files by burning them to a CD, you will first need to purchase some blank media. You can use either CD-Rs or CD-RWs. CD-Rs can only be written to once, while CD-RWs will allow you to reuse the media. You can write up to 700 MB of data to a CD. Once you have your blank media on your computer, there are several ways to burn a CD using the built-in CD burning features of Mac OS X.
Using the Finder:
- Insert a blank CD into the optical drive of your computer.
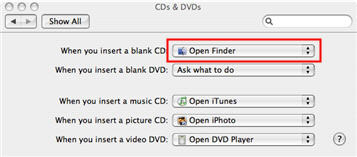
- If CDs & DVDs preferences are set to “Open Finder” (select the Apple menu, then System Preferences, CDs and DVDs), an Untitled CD icon will be displayed on your desktop.
- To give your CD a name, click once on the CD’s icon on the desktop to select it, then click once again on “Untitled CD” so that the text is selected (do not double-click as that will open the CD). Once the text is selected, start typing some different text to give the CD a new name. After you have finished entering the new name, press Enter to rename the CD.
- Open the CD by double-clicking on it, and drag files and folders to the open disc window and arrange the files exactly as you want them. The names of files, folders, and the disc can’t be changed after the CD is burned.

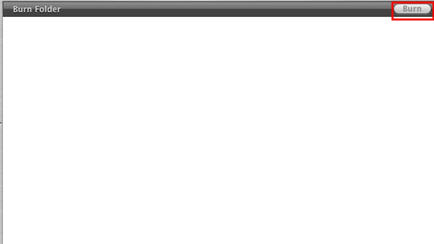
- Choose File > Burn Disc or click on the Burn button in the upper right corner of the Finder window.

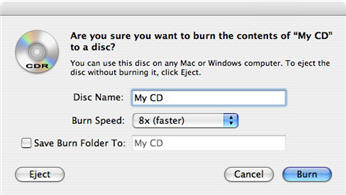
- Select the burn speed and click Burn.
Using Burn Folders:
With a burn folder, you can create a compilation of files to burn to CD even if you don’t have a blank CD at the moment. The burn folder will create aliases (shortcuts) to the files. When you are finished burning your CD, you can delete the burn folder and only the aliases will be deleted, not the original files.
To create a new burn folder (which will have the .fpbf extension in the Finder):
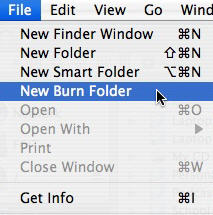
- Choose File > New Burn Folder.
- The burn folder will look different from a regular folder.
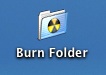
Give the folder a name, and add the items you want to include on your CD or DVD (for example, images, documents, folders, or applications).
- Double-click the folder to open it in a Finder window, drag and drop the files you want to include on the CD, then click Burn to begin creating a burned disc.
- Insert a blank or rewriteable disc into your computer and follow the onscreen instructions.
You can also use the disc burning features of applications such as iPhoto and iTunes to create CDs.