After you have taken pictures of your students with your digital camera, you’ll want to copy the pictures from your camera to your computer so you can print them, share them with your students, and back them up for safe keeping. Once your pictures are on your computer, you can erase them from your camera, freeing up memory so you can take more pictures.
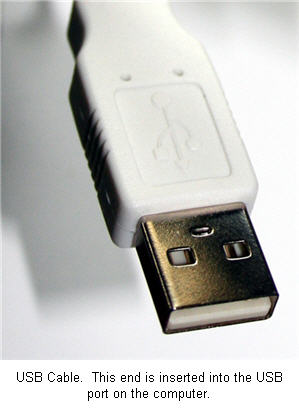
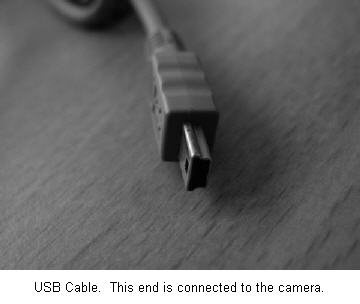
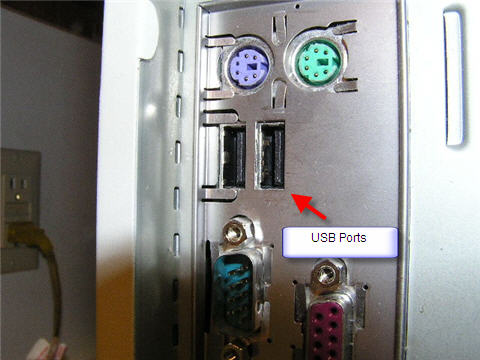
Most cameras come bundled with software you can use to download and manage your pictures, or you can use the software built into Windows XP. The bundle also usually includes a USB cable that can be used to connect the camera to your PC. The flat end of this cable will plug into a USB port on your computer, while the smaller end of it will plug into your camera.
Once you have the cable plugged in to both the PC and the camera, make sure your camera is turned on and set to the right mode so it can be recognized by Windows. This varies by camera model, so you may have to check your manual. On many cameras this is called Play mode.
A problem with directly connecting your camera to the computer using a USB cable is that it may drain your camera’s batteries if you do not have it connected using a power adapter. To get around this problem you can use a USB card reader, a small device with ports where you can insert the memory card that is used to store the pictures on your digital camera. You can either buy a card reader for the specific memory card type used by your camera, or you can buy a reader that has multiple ports on it if you’re not sure what kind of memory your camera uses.
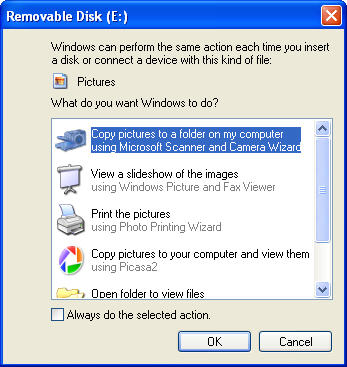
Once your camera or card reader is connected to the PC, Windows should bring up a dialog box asking you what program you want to launch to work on the pictures. Proceed as follows to copy the pictures on your camera to your PC:
- Select Copy pictures to a folder on my computer using Microsoft Scanner and Camera Wizard.
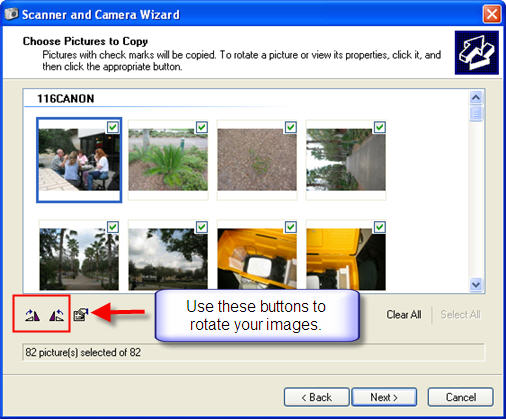
- The next screen will show you the pictures on the memory card. By default, all the pictures are selected, but you can select not to download some of them by unchecking the boxes next to them. You can also rotate some of your pictures by using the buttons at the bottom of the window.
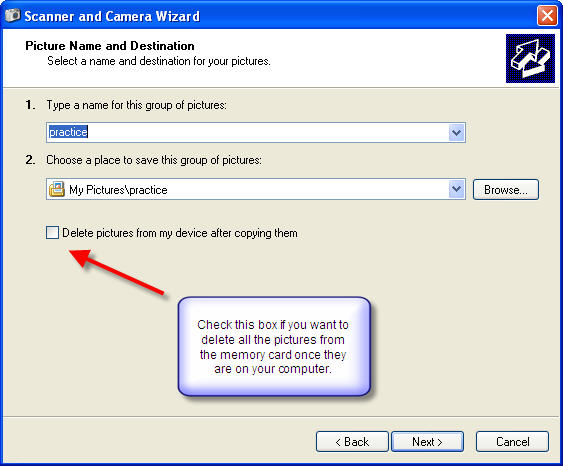
- When you click next, you will have the option of selecting the folder where you want to save your pictures, and you can enter a name for the group of pictures you are downloading. Windows will take care of adding a sequential number to the name you choose (for example, if you select mypic as the name, Windows will start saving them as mypic001, mypic002 and son on). If you want to erase the pictures from the memory card after they have been downloaded, check the box at the bottom of the window.
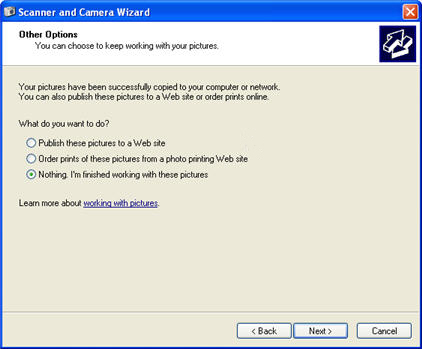
- On the Other Options screen, click on Nothing if all you want to do is save your images to the hard drive.
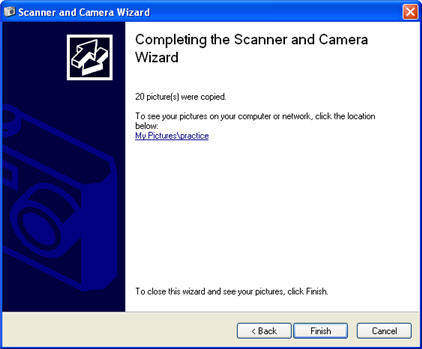
- When you click on the Finish button on the next screen, Windows will open up the folder where your images were saved.
You can then open up these images using a viewer program such as Windows Picture and Fax Viewer, or if you have one installed, you can use an editing application such as Adobe Photoshop to perform edits.