NOTE: As of March 16, 2016, Google ceased to support Picasa and encouraged users to migrate to Google Photos. The Picasa application will continue to function, however, and can still be used by those who prefer it. We are maintaining the Picasa posts within TechEase because we find that many people are still using the application and come to the TechEase site looking for the specific help we offer.
Picasa allows you to easily back up the photos and movies on your computer for safekeeping.
To create a backup, you must first insert a blank CD-R or CD-RW in your computer’s writable drive, then select Tools, Backup Pictures. This will open the Backup your photos window.
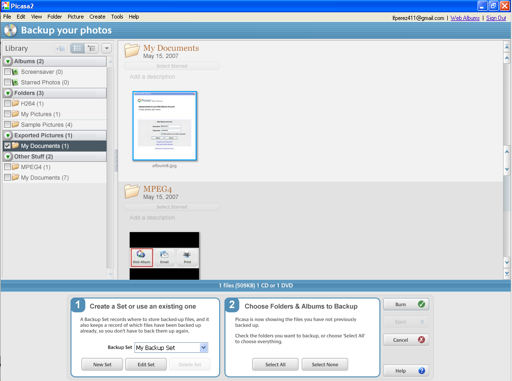
At the bottom of the window, under Step 1, you can select a backup set or click on the New Set button to create a new backup set.
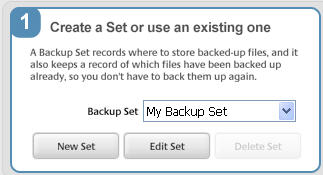
A backup set tracks all the settings used to back up your photos, such as the location where the backup will be saved to (a drive or a folder) and the types of files to include in the backup (you can set it to exclude movies). You can change these settings by clicking on the Edit Set button after you have created a backup set.
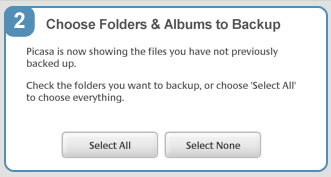
Under Step 2, you can click on the Select All button to create a backup of all your photos, or you can select individual folders or albums by placing a checkmark next to their names in the folder list that appears on the left hand side of the Backup your photos window. Once you have made your selections and set your options for the backup set, click on the Burn button to create your CD.