NOTE: As of January 10, 2017, Microsoft ceased to support Windows Movie Maker. The Windows Movie Maker application will continue to function, however, and can still be used by those who prefer it. We are maintaining the Movie Maker posts within TechEase because we find that many people are still using the application and come to the TechEase site looking for the specific help we offer.
CAUTION: While installation files that were downloaded directly from Microsoft are safe, there are now many reports of non-Microsoft scam websites offering malware versions of Movie Maker for download. While this malware may function at first, it eventually will demand payment for functions such as saving a file. Never download software from an untrusted source.
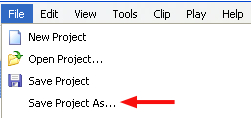
The first thing you should do when you open Windows Movie Maker to work on a new project is save the project file:
- Select File > Save Project As…
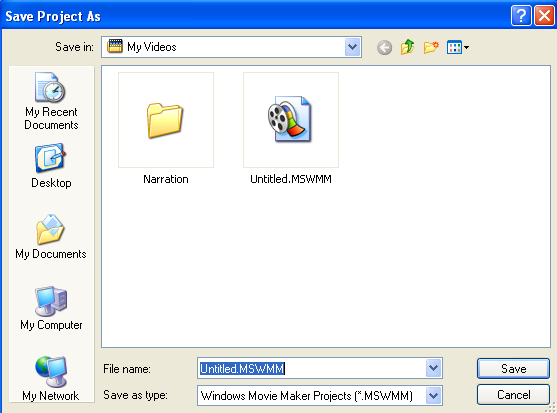
- Choose a save location on your computer and enter a name for your file in the File name field.
- Click on Save.
You should save your project file as often as possible by selecting File > Save Project. The project file contains the information that will allow you to open the project with Movie Maker at a later time if you need to make additional edits.
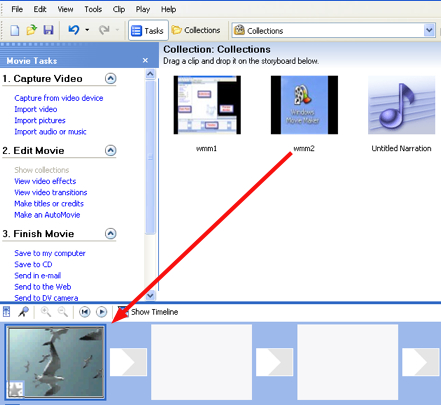
The first step in making a movie with Movie Maker is to capture or import the content you want to use (such as video clips and still images). Once you have captured or imported the clips and still images you want to use in your movie, the next step is to use the Storyboard to arrange these assets into a sequence:
- Select a clip or still image you want to add to your movie in the Collection area.
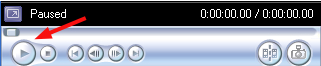
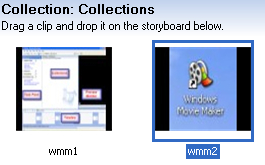 To preview a clip before you add it to your movie, click on it once in the Collection area to select it and press the Play button in the Preview Monitor.
- To add the clip or image to your movie, drag the clip or still image into one of the rectangular boxes in the Storyboard.
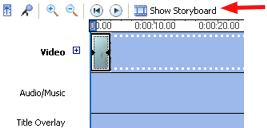
 If you do not see the Storyboard, click on the Show Storyboard button above the timeline.
- Repeat the previous steps to add more clips or still images to your movie.
- You can change the order of clips and images by dragging them to different locations in the Storyboard.
- To remove a clip or image from the Storyboard, click once to select it and press the Delete key on your keyboard. This will only remove the clip or image from the Storyboard. The original will remain in your Collection so you can use it again at a later time.
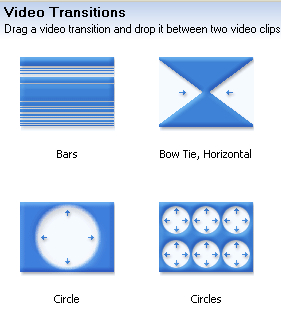
Transitions can add variety and visual interest to your movie. However, you should use them in moderation. To add a transition between two clips or images:
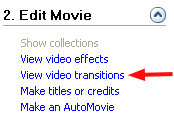
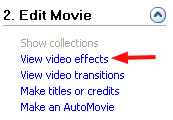
- Select View video transitions in the Edit Movie section of the Movie Tasks pane (or choose Video Transitions from the Collections pulldown menu).
 If you do not see the Movie Tasks pane, choose View > Task Pane to display it.
 - The Collection area will show a series of icons for the transitions available in Windows Movie Maker.
 Choose a transition and drag it to one of the small rectangles between two clips in the Storyboard.

- To remove a transition, click once to select it in the Storyboard and press the Delete key on your keyboard.
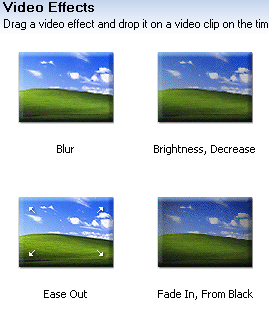
Using video effects, you can give your video clips the look of aged film, change them to black and white, and more. To add a video effect to a clip:
- Select View video effects in the Edit Movie section of the Movie Tasks pane (or choose Video Effects from the Collections pulldown menu).
- The Collection area will display a series of icons for the video effects available in Windows Movie Maker. Choose a video effect and drag it into a clip in the Storyboard. A star will display in the lower left corner of the clip or image to let you know that an effect has been added.

- To remove an effect, click once to select the star in the lower left corner of a clip and press the Delete key on your keyboard.
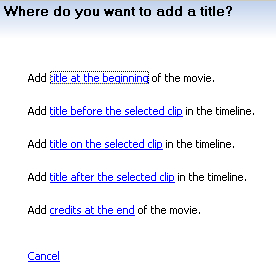
You can add titles and credits to your movie as follows:
- Select Make titles or credits from the Edit Movie section of the Movie Tasks pane.

- Choose the type of title or credit you want to add to your movie by clicking on one of the links. You can add titles at the beginning or end of the movie, before or after a clip, or as overlay that will display on top of the currently selected clip.
- Enter your text in the text boxes.
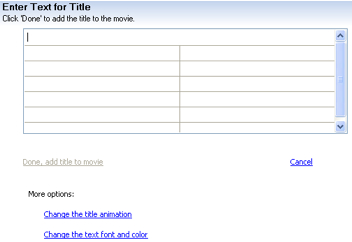
- To change the appearance of your text, click on the Change the text font and color link. On the next screen, use the controls to change the font type, color, transparency, size, and alignment. You can also make text bold, italic, or underline.

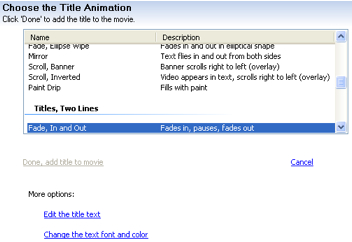
- To change the animation, click on the Change the title animation link. On the next screen, choose one of the animations to display a preview in the Preview pane.
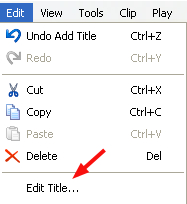
- Click on Done, add title to movie when you’r finished setting all of your options. If you need to edit a title after you have added it to your movie, select the title clip in the Storyboard and choose Edit > Edit Title from the menu bar.
To preview the movie, make sure no clips or images are selected in the Collection area, then press the Play button above the Timeline or Storyboard. You can also use the Play button in the Preview Monitor.
The final step in creating a movie is to export it so that it is in a format other people can play on their computers. To export a finished movie to your computer’s hard drive:
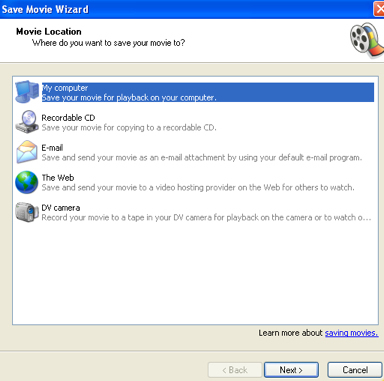
- Choose File > Save Movie File…
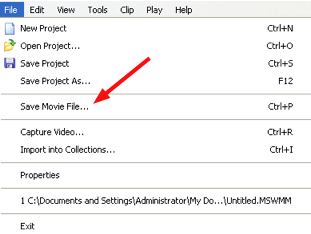
- Choose My Computer as the Movie Location and click on Next.
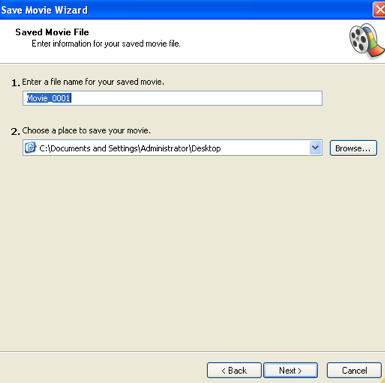
- Enter a name for your movie and choose a save location. The default location is the My Videos folder in My Documents.
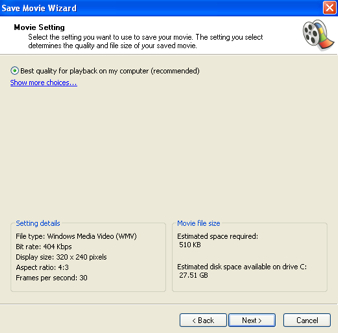
- Choose Best quality for playback on my computer (Recommended). Movie Maker will let you know how much space the movie will take and how much space you have available on your computer.
- Click on Next to start saving your movie. This step can take some type if you have a slower computer or a very long movie.
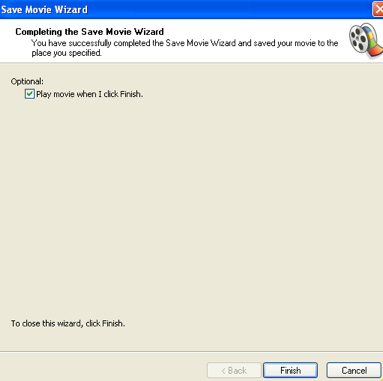
- Make sure Play movie is checked on the final screen and then click on Finish to start playing your movie with Windows Movie Player.